Below is a brief overview of what you can expect with Simple Invoices and some of the features.
Sign Up & Log In
Sign Up: Visit the Register page, enter your email address and hit the Register button. You will then recieve an email with your password and once you have this you can login.
Log In: Visit the Login page, enter your email address that you registered with and your password. Now hit the Login button and you will be directed to the Dashboard.
The Dashboard
The Dashboard provides an overview of various metrics such as how much you have quoted in the last 30 days, the value of outstanding quotes, how much is owing on invoices, how much you have invoiced YTD and a few more.

Settings Page
The Settings page contains, funnily enough, the settings.
There are a number of different tabs within the settings page that contain fields and options for you to customise Simple Invoices.

Navigating to the settings page should be the first thing you do after logging in as you will need to add your business information, logo and various other details.
Clients Page
Here you can see a list of all clients that you have added and have used in the past.

There is a live search bar at the top to allow you to easily search and filter clients, which will happen in real-time as you type.
Next to each Client is an edit button that allows you to edit that particular client.
Next to the edit button is a dropdown containing further options to delete or duplicate that client.
Quotes Page
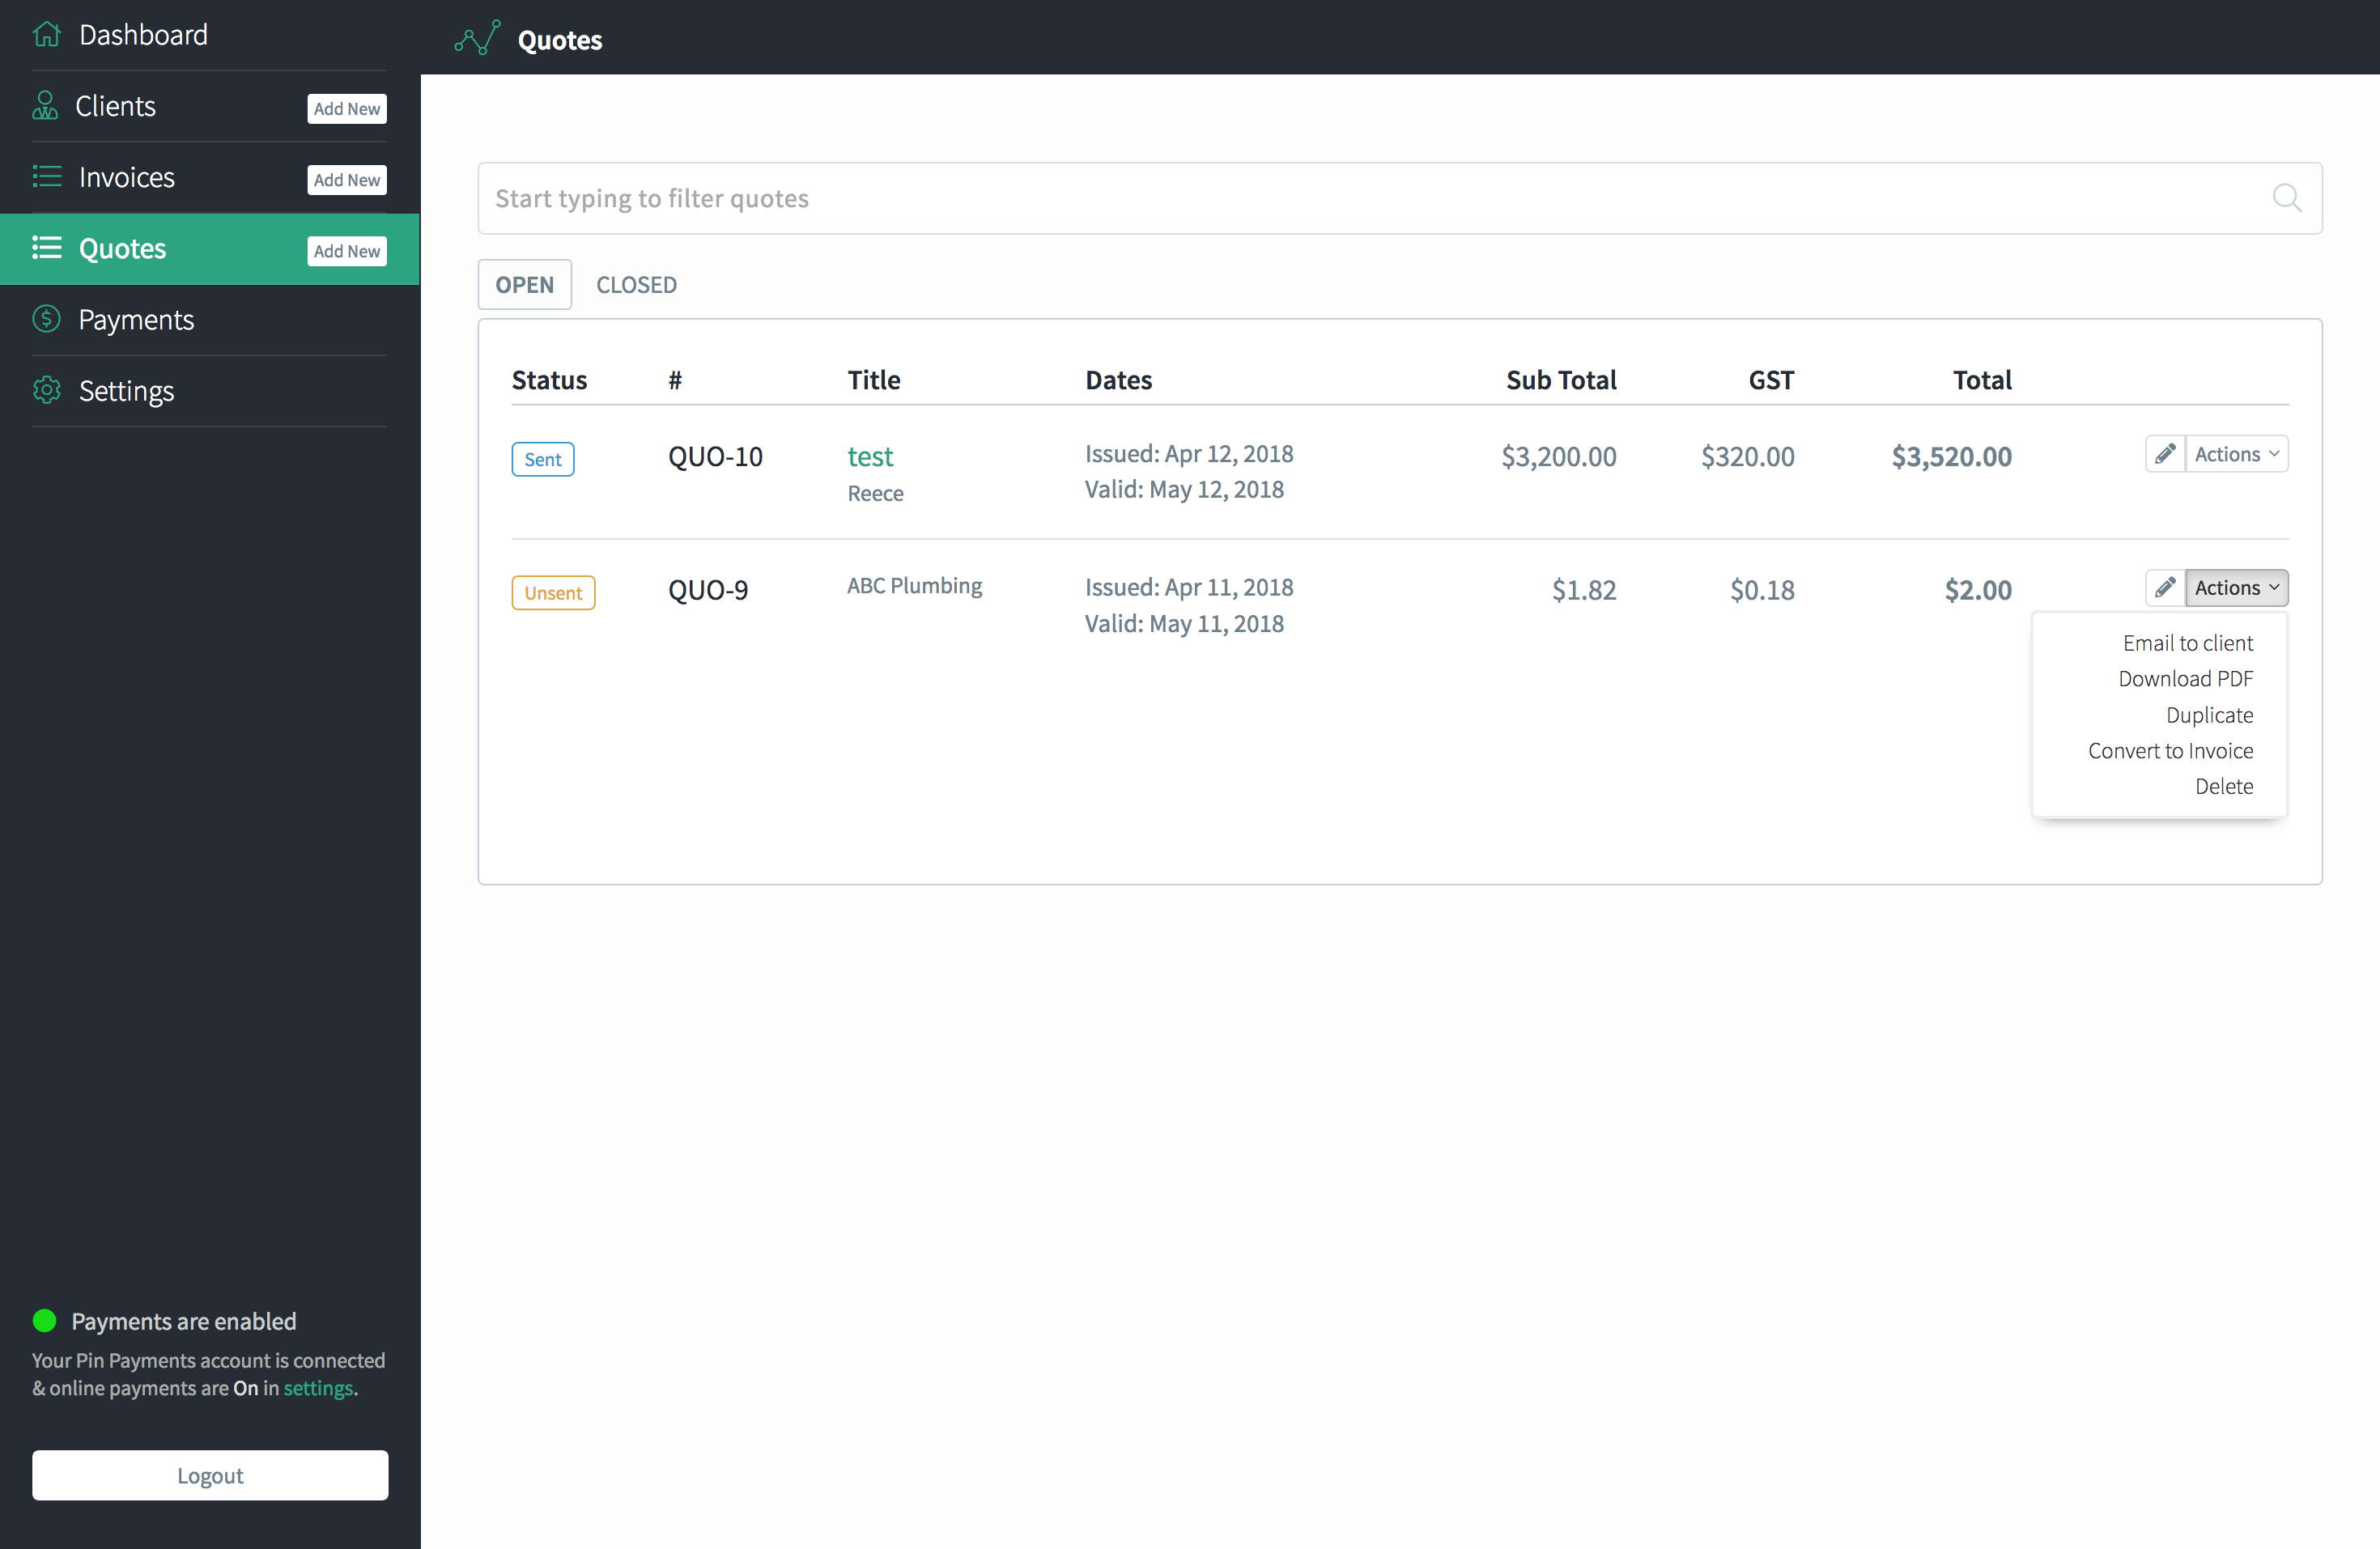
The Quotes page lists your quotes in 2 tabs, Open and Closed.
Open tab contains all quotes with the status of Draft, Unsent, Sent and Pending.
Closed tab contains all quotes with the status of Declined and Cancelled.

** A note about statuses – statuses will automatically change and update once various actions take place such as sending an email marks the status as Sent. You can however change the status at anytime by editing the item.
There is a live search bar at the top to allow you to easily search and filter quotes, which will happen in real-time as you type.
Next to each quote is an edit button that allows you to edit that particular quote.
Next to the edit button is a dropdown containing further options to:
- email quote to the client (or anybody)
- download the PDF version of that quote
- duplicate the quote
- convert the quote to an invoice
- delete the quote
Once a quote is converted to an invoice, it is completely removed from the quote area and will now appear as an invoice, under the invoice section.
Invoices Page
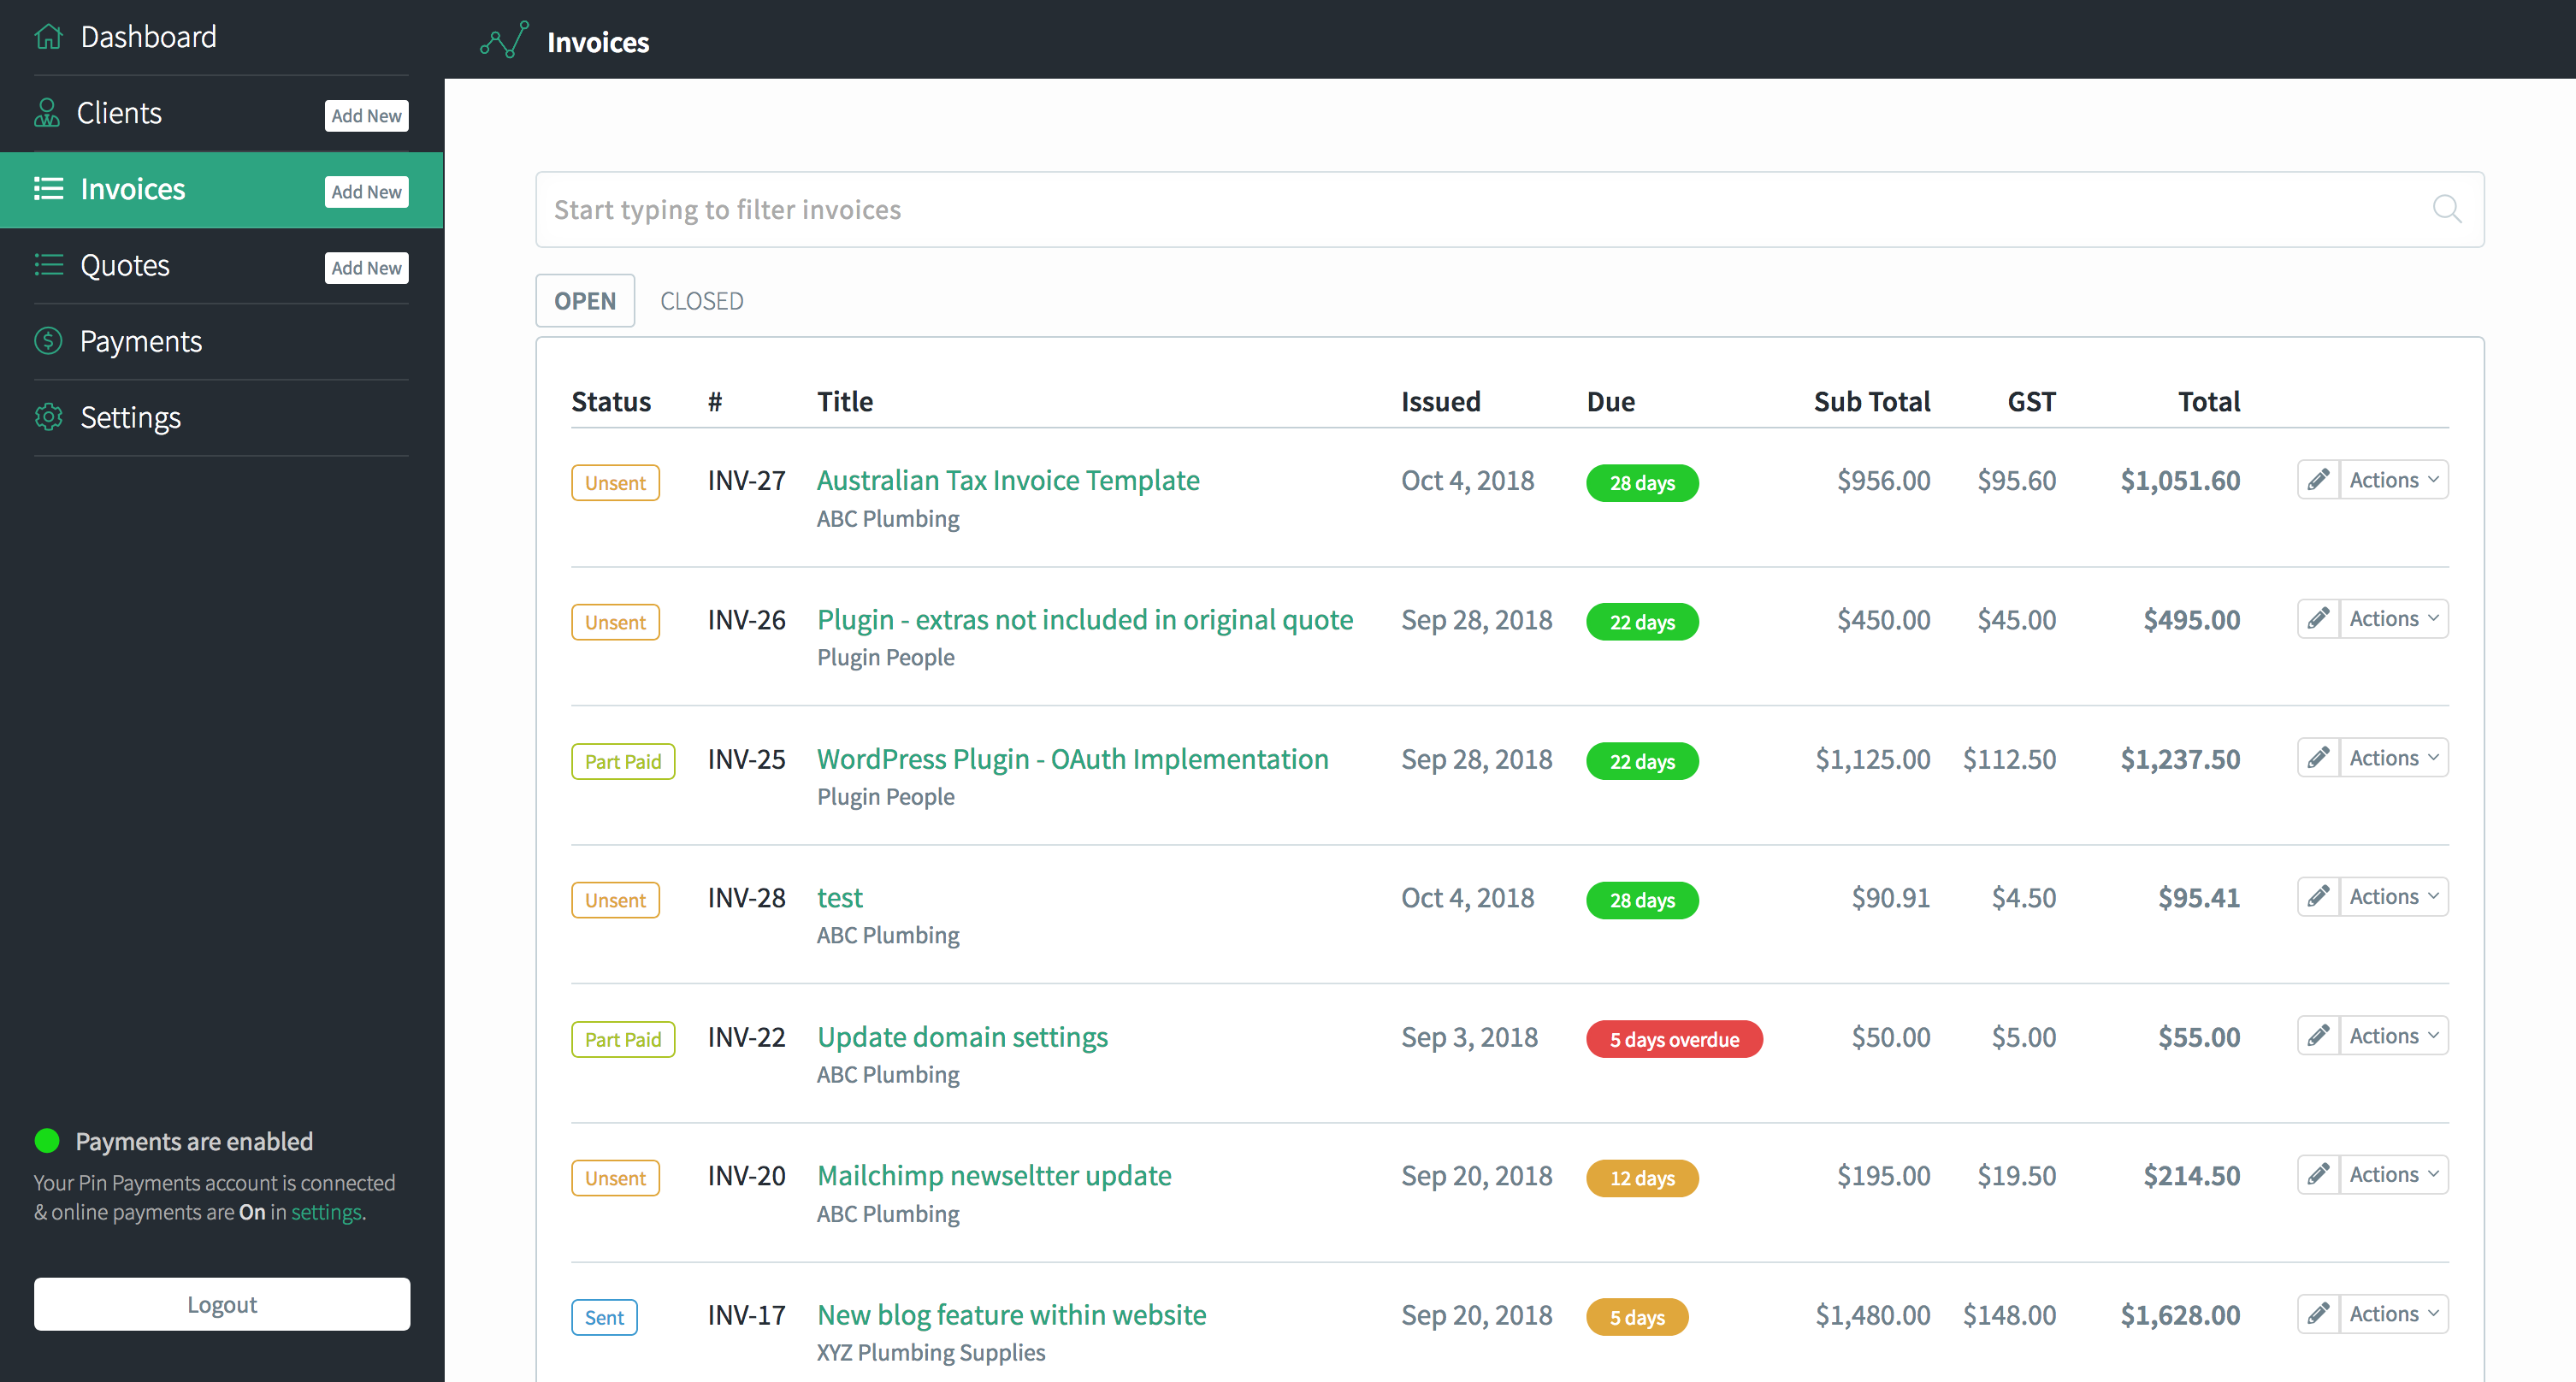
The Invoices page lists your invoices in 2 tabs, Open and Closed.
Open tab contains all invoices with the status of Draft, Unsent, Sent, Unpaid, Part Paid and Overdue. Basically all invoices that have not been paid or cancelled.
Closed tab contains all Paid and Cancelled invoices.
** A note about statuses – statuses will automatically change and update once various actions take place such as sending an email marks the status as Sent. You can however change the status at anytime by editing the item.

There is a live search bar at the top to allow you to easily search and filter invoices, which will happen in real-time as you type.
Next to each invoice is an edit button that allows you to edit that particular invoice.
Next to the edit button is a dropdown containing further options to:
- email invoice to the client (or anybody)
- add a payment to the invoice
- download the PDF version of that invoice
- duplicate the invoice
- delete the invoice
Adding a Client, adding a Quote or adding an Invoice
Adding any one of these items is the same process.
Simply click on the ‘Add New‘ button that you will find next to each item within the left hand sidebar menu.
Once clicked, you will be taken to the Add New screen where you fill in the fields you need, scroll to the bottom and click the Add button. Simple!
