To create a new invoice, click the ‘Add New’ button next to Invoices in the main navigation area. You will then be taken to the New Invoice page.
On this page, you’ll be presented with 3 areas containing a number of different fields and a big green ‘Create Invoice’ button at the bottom of the page.
You simply need to fill in whichever fields you require for this particular invoice and click the ‘Create Invoice’ button.
To edit an existing invoice, click on Invoices in the main navigation area. Now find the invoice you wish to edit and click the pencil icon next to the invoice within the list.
Let’s take a closer look at the 3 areas and their fields.
Invoice Details
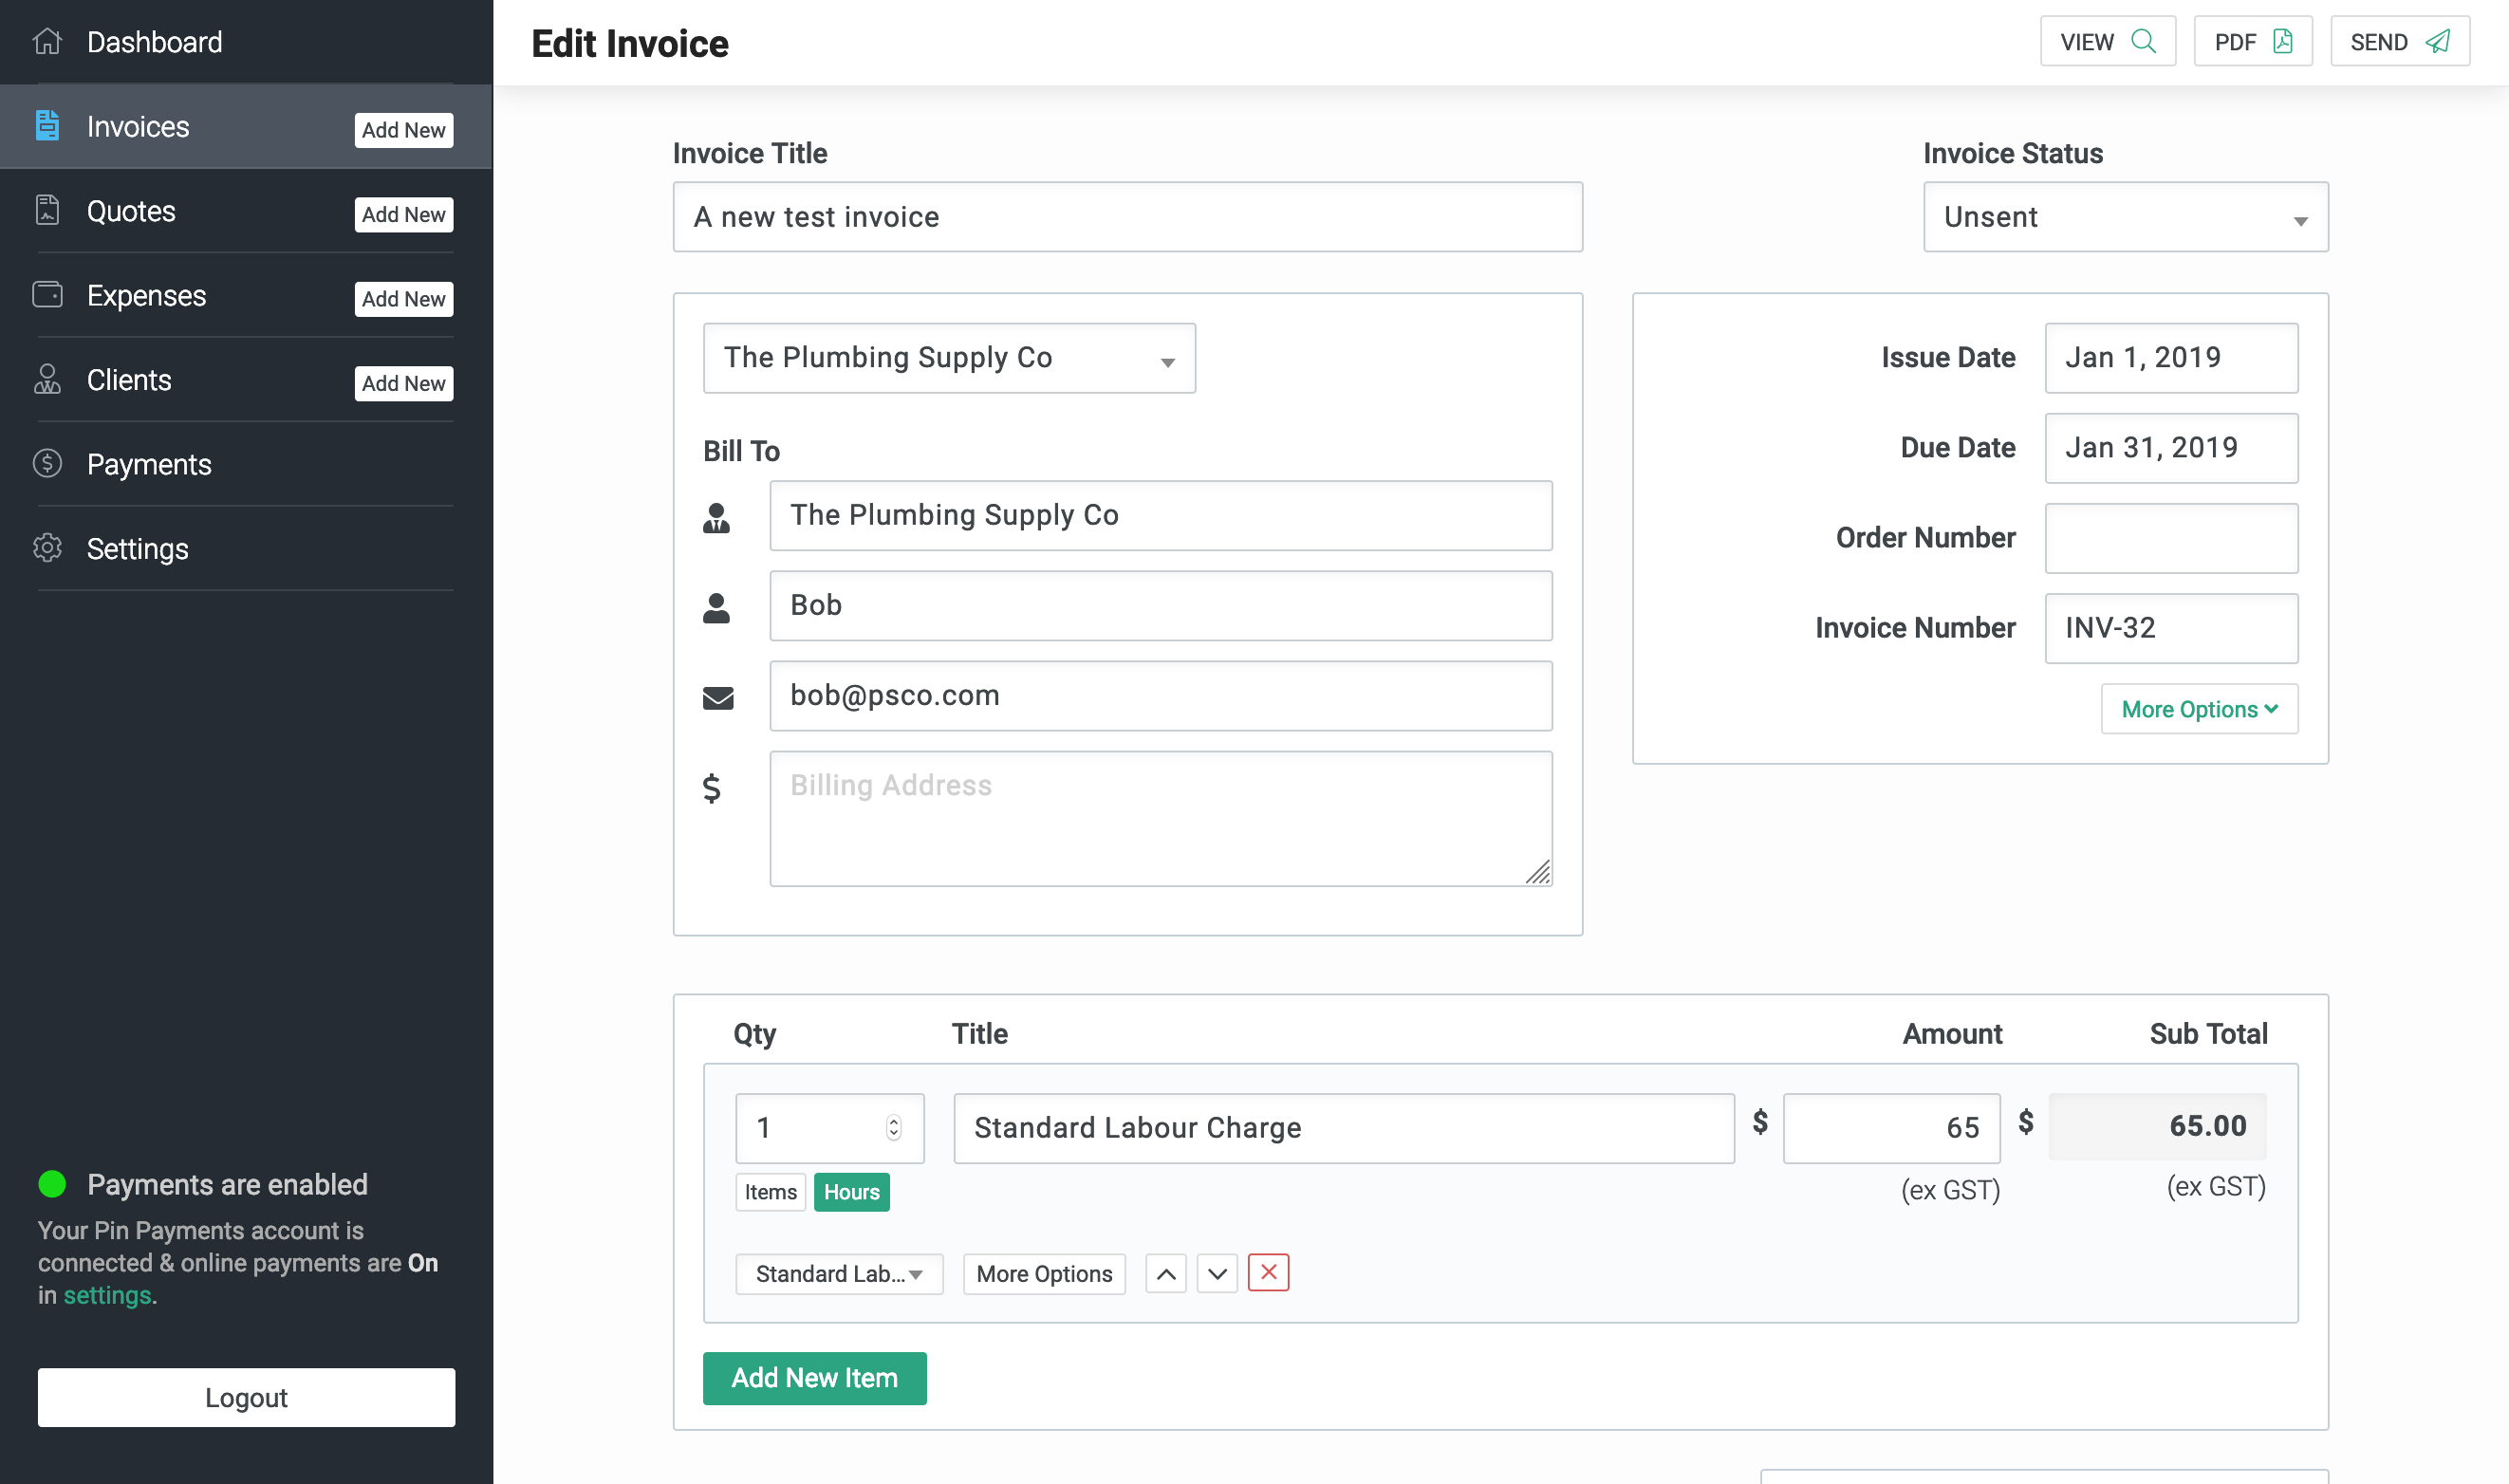
- Issue Date – select the date that you will be issuing the invoice. Defaults to today.
- Due Date – the date payment is due on the invoice. This defaults to 30 days but can be adjusted in the settings
- Order Number – if there is an order number for this invoice
- Invoice Number – the invoice number combines the ‘Invoice Prefix’ and ‘Next Invoice Number’ that are set within the settings. The default prefix is INV- and the next number is 1, whcih will make your first invoice have the following number: INV-1. You can of course adjust the prefix and next number within the settings.
- Description – this is where you can add a description or any type of notes about the work carried out or the products supplied.
- Description Location – here you can choose where the description will be displayed.
Client Details
- Select Existing – if you have existing clients they will appear here. Click the dropdown and select your client. All of their details will then populate the client fields below.
- Client Name – the name of the client Their sbusiness or trading name.
- Email – the clients contact email address. This is used to send the invoice to the client.
- Contact Name – the name of the person who is the main contact.
- Billing Address – the client’s billing address
- Shipping Address – the client’s shipping address. This is only displayed if you have enabled the Shipping Address option in the settings.
When you fill in the fields above (and you haven’t selected an existing client), this new client will be saved in your list of clients.
Line Items
The Line Items section is where you add all of the items that you will be billing your client for.
Each line item can be billed on an hourly basis or an items basis.
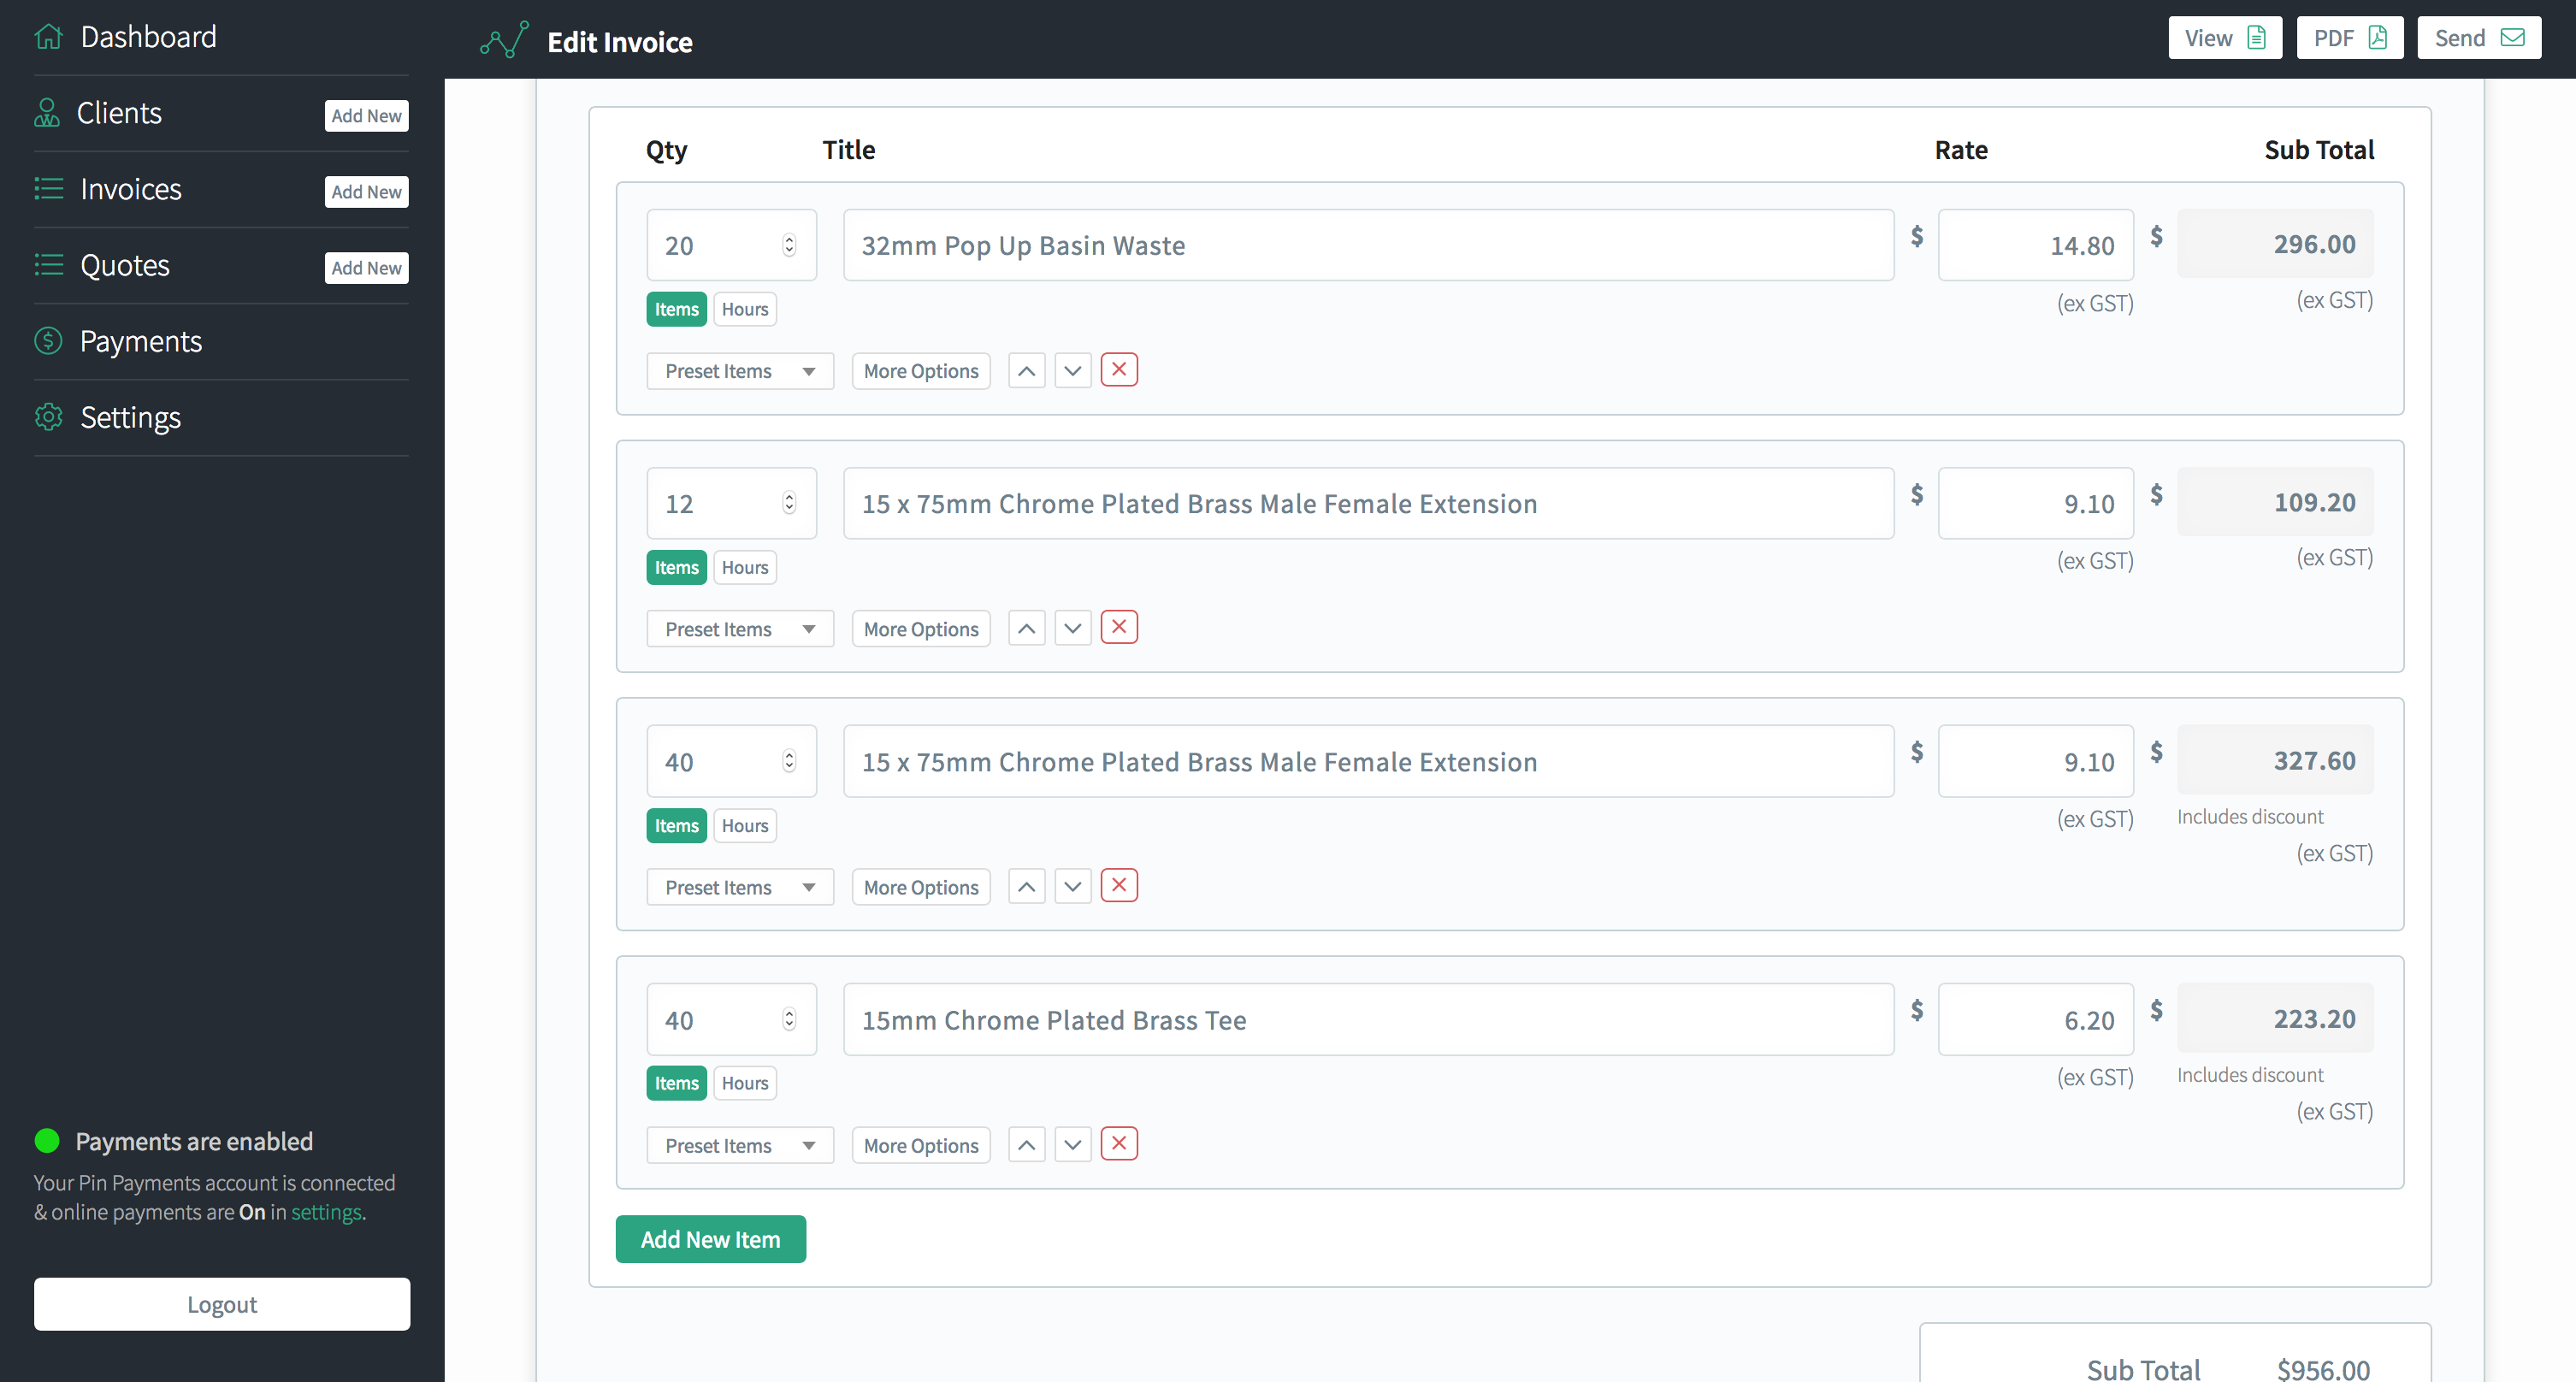
- Qty – the number of items or the number of hours for this item.
- Items or Hours buttons – you can toggle between billing for items or billing for hours with these buttons. Items is the default option, so clicking on the hours button will allow you to bill in hours.
- Name – the name (or title) of this item. This would be the product name or something like ‘Standard Labour Charge’ when billing in hours. Completely up to you what you put in here.
- Rate – enter the amount you are billing for here.
- Sub Total – this will display the sub total of the line item once you save the invoice.
Clicking on the [more options] on any line item link will reveal the following:
- Description – here you can add a description of the item or description of the work carried out.
- Discount – here you can provide a discount for this line item. This will be a number
- % and $ buttons – this dictates if the discount will be a percentage discount or a dollar amount.
- Entering 10.50 into the Discount field and clicking the $ button will create a $10.50 discount for this line item.
- Entering 10.50 into the Discount field and clicking the % button will create a 10.50% discount for this line item.
- GST button – toggling this button will turn GST on or off for this line item.
Follow this link to view an example Australian tax invoice template.